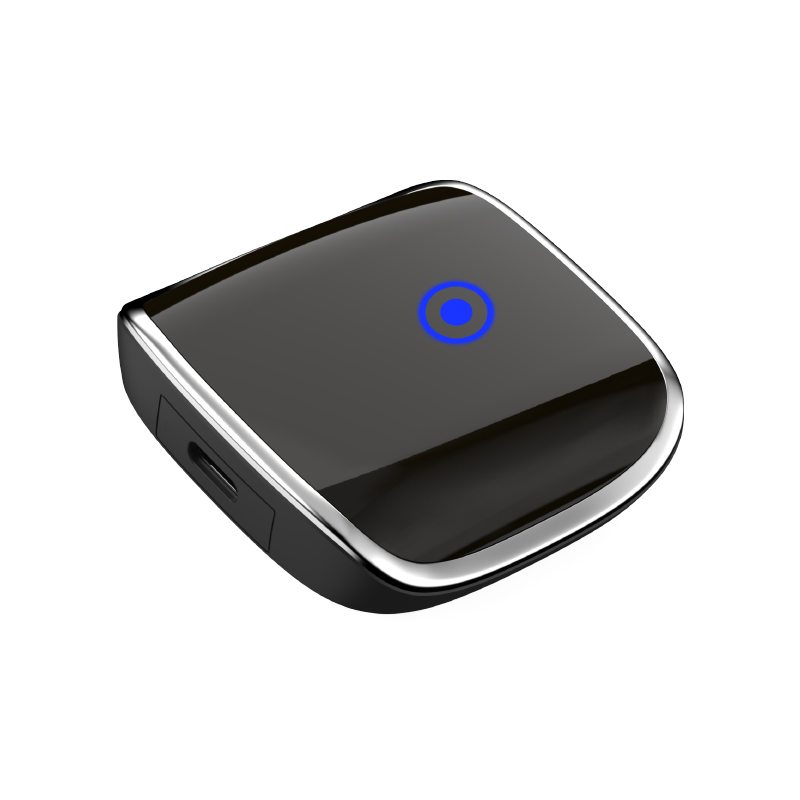
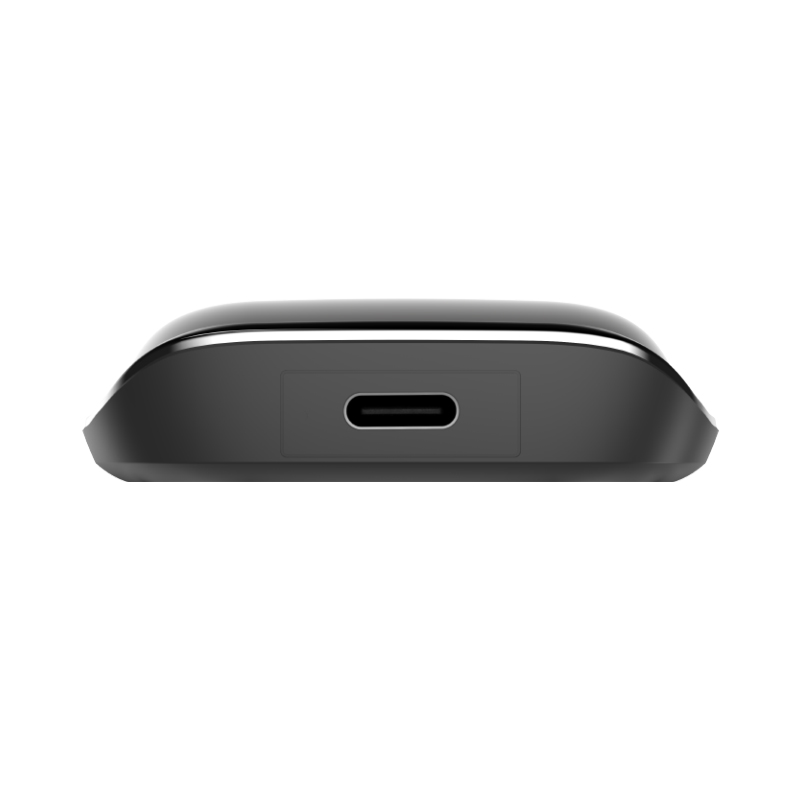
Upgrading your vehicle's infotainment system with a carplay box can significantly enhance your driving experience by providing seamless access to your favorite apps, navigation, music, and hands-free communication. This step-by-step guide will walk you through the process of installing a CarPlay box in your vehicle, ensuring a smooth and successful setup.

Step 1: Gather the Necessary Tools and Equipment
Before starting the installation, make sure you have all the required tools and equipment. You will need:
A CarPlay box compatible with your vehicle
USB cable or adapter (if required)
Pry tools for removing trim pieces
Screwdrivers (Phillips and flathead)
Electrical tape or zip ties for cable management
Step 2: Choose the Right CarPlay Box
Ensure that the CarPlay box you have chosen is compatible with your vehicle's make, model, and year. Some popular CarPlay boxes include the CarLinkit 3.0, Ottocast U2-Now, JoyeAuto Retrofit Kit, and CPlay2Air. Refer to the manufacturer's specifications to confirm compatibility.
Step 3: Prepare Your Vehicle
Park your vehicle in a well-lit area and ensure it is turned off. Disconnect the negative terminal of the car battery to avoid any electrical shorts or issues during installation.
Step 4: Remove the Dashboard Trim and Head Unit
Use the pry tools to carefully remove the dashboard trim pieces surrounding the head unit (the car's central control unit). Be gentle to avoid damaging the trim. Once the trim is removed, use the screwdrivers to unscrew and remove the head unit. Carefully disconnect any wiring harnesses connected to the head unit.
Step 5: Connect the CarPlay Box
Locate the appropriate input ports on the back of the head unit. Connect the CarPlay box to the head unit using the provided cables or adapters. Ensure all connections are secure. Depending on your CarPlay box model, you might need to connect a USB cable from the CarPlay box to a USB port in your vehicle.
Step 6: Manage Cables
Neatly arrange and secure the cables using electrical tape or zip ties to prevent them from becoming tangled or interfering with other components. Make sure the CarPlay box is positioned in a location that does not obstruct any other parts of the dashboard or head unit.
Step 7: Reassemble the Dashboard
Reconnect any wiring harnesses to the head unit and carefully slide it back into place. Secure the head unit with screws and reattach the dashboard trim pieces. Ensure everything is securely fastened and looks as it did before disassembly.
Step 8: Test the CarPlay Box
Reconnect the negative terminal of the car battery. Start your vehicle and switch on the head unit. Follow the on-screen instructions to set up the CarPlay box. Ensure that your iPhone is connected to the CarPlay box either via USB or wirelessly, depending on your box's capabilities. Test the functionality by using various apps, navigation, and voice commands to ensure everything is working correctly.
Step 9: Troubleshoot Any Issues
If you encounter any issues during the setup, consult the CarPlay box's user manual for troubleshooting tips. Common issues may include connectivity problems, audio issues, or software glitches. Ensure your iPhone is updated to the latest iOS version and try restarting both your phone and the CarPlay system.

Conclusion
Installing a CarPlay box in your vehicle can transform your driving experience by providing easy access to your favorite apps, navigation, music, and hands-free communication. By following this step-by-step guide, you can successfully install a CarPlay box and enjoy the enhanced functionality it offers. With a little patience and careful attention to detail, you'll have your CarPlay box up and running in no time, bringing modern convenience and connectivity to your daily drive.
 Trolink Joint With Tuya to Make Iot Benefit Every Family
 5 Key Indicators for WiFi Module Selection You Have to Know !
 IOT module is the brain of smart products
 What is the signal coverage range of the WiFi module chip?